Så blev det Kay Bojesens tur til også at lave plakater, som er et hit lige for tiden. Jeg fandt
Se næste indlæg >

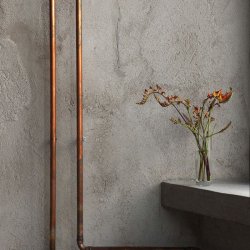
DIY: MODERN CONCRETE PLANTERS
Alice Heide Interior & Design
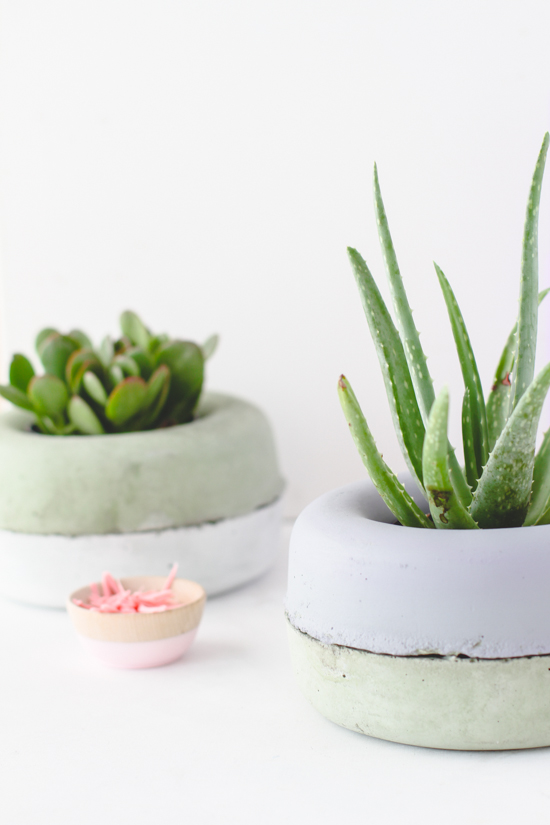
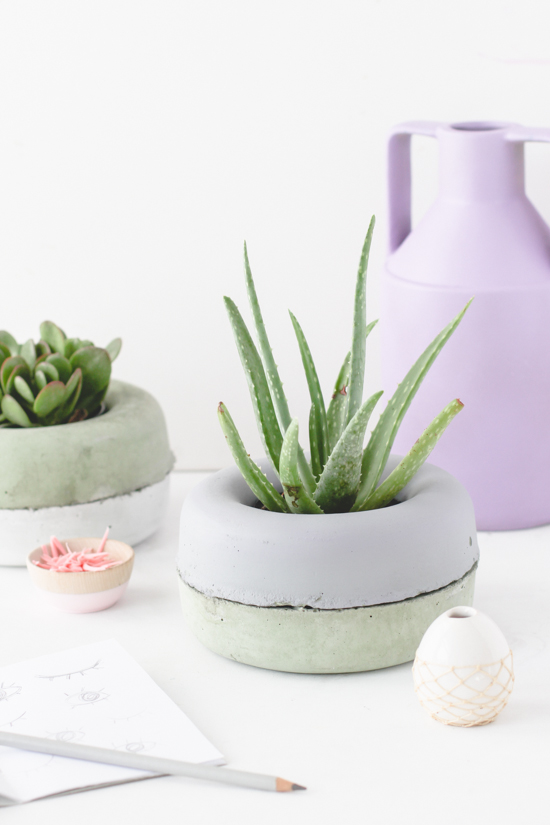
Forleden dag, da jeg kiggede rundt på diverse blogs, fandt jeg ovenstående simple men dog ret fine DIY beton planteskjuler. Guiden står den kvindelige blogger Brittni Mehlhoff for, og hun har i øvrigt lavet andre fine gør-det-selv-projekter, som er værd at give sig i kast med. Her præsenterer hun altså denne fine beton planteskjuler, som er både æstetisk flot og økonomisk til at have med at gøre. Jeg lader Brittni Mehlhoff tale for sig selv:
Want to make your own? Here’s how…
Supplies:
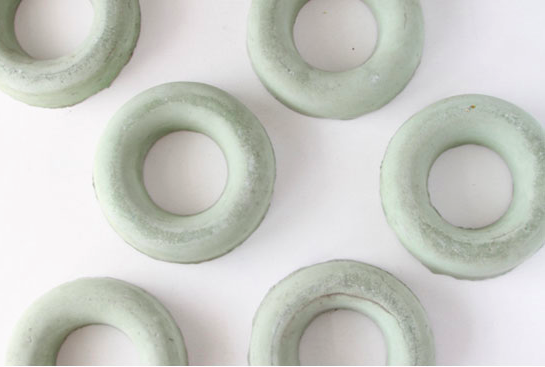
7 inch round sprinkler guard (2 needed per planter) // paint // paint brush // small plants or succulents
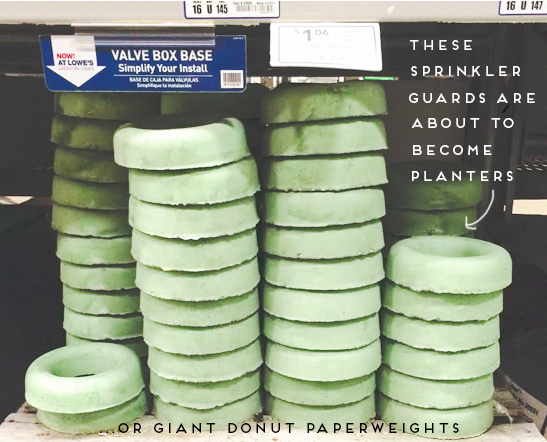
Each one was $1.06 and it only takes 2 to make a planter. So each planter totaled $2.12. Not bad!
How To:
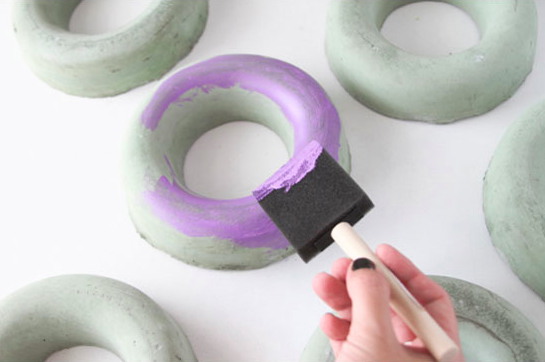
1. Wipe down the sprinkler guards with water and a paper towel or cloth. Then paint the entire guard and wait for it to dry. I added a little bit of water to the paint I was using, so that some of the texture and greenish color would peek through. *I also left some of the guards as is because I liked that color green so much.
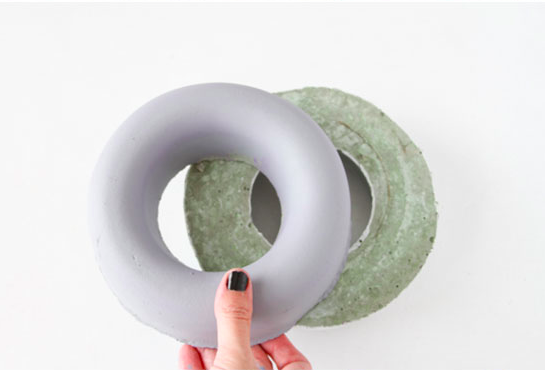
2. Next, flip one of the guards over, so that the flat bottom is facing up. Then place another sprinkler guard on top. No glue necessary.
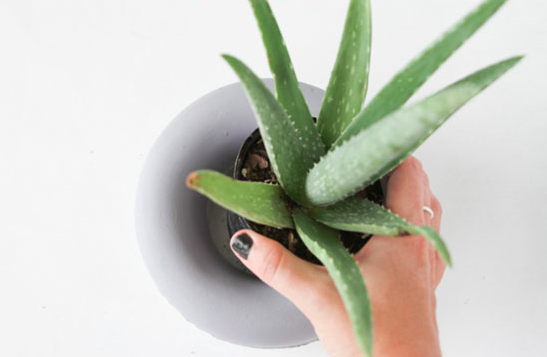
3. Next, add a plant or succulent to the inner hole and you’re good to go. *Make sure to keep the plant inside the plastic starter pot you buy it in.
Besøg hendes yderst kreative blog, “Paper and Stitch”, lige her.
Ingen kommentarer endnu